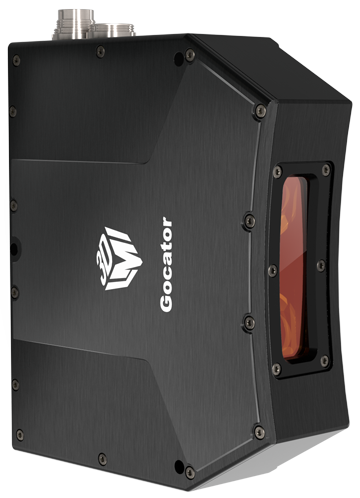
 The LMI Technologies Gocator 3504 delivers a best-in-class 6.7 micron XY resolution and repeatability of 0.2 microns in just one blue light snapshot. Inspecting small parts like electronic components has never before been this fast or precise.
|
GOCATOR 3504 Specifications |
|
|
Scan Rate (Hz) |
6 |
|
Imagers (meagpixels) |
5 MP, Stereo |
|
Clearance Distance (CD) |
52.5 mm / 2.07 inches |
|
Measurement Range (MR) |
7 mm / 0.28 inches |
|
Field of View |
12.1 x 13.2 mm (Near) |
|
Repeatability Z |
0.2 um |
|
Resolution XY |
6.7 - 7.1 um |
|
Accuracy XYZ (um)* |
6 |
|
Dimensions |
49x152x177.5 mm |
|
Weight |
1.77 kg |
|
Light Source |
Blue LED (465 nm) |
|
Inputs |
Differential Encoder, Trigger |
|
Outputs |
2x Digital output, 1x RS-485 Serial (115 kbaud), 1x Analog Output (4 - 20 mA) |
|
Interface |
Gigabit Ethernet |
|
Input Voltage (Power) |
+24 to +48 VDC (25 Watts); Ripple +/ 10% |
|
Housing |
Gasketed aluminum enclosure, IP67 |
|
Operating Temperature |
0°C to +50°C |
|
Storage Temperature |
-30°C to +70°C |
|
Vibration Resistance |
10 to 55 Hz, 1.5 mm double amplitude in X, Y and Z directions, 2 hours per direction |
|
Shock Resistance |
15 g, half sine wave, 11 ms, positive and negative in X, Y and Z directions |
|
Software and Built-in 3D Measurement Tools |
|
|
3D Feature Tools |
Openings (holes, slots), Cylinders, Studs (threaded and non-threaded), Plane |
|
3D Volumetric Tools |
Volumes, Areas, Bounding boxes, Positions (min, max, centroid), Ellipses, Orientations |
|
Scanning Software |
Browser-based GUI and open source SDK for configuration and real-time 3D visualization. Open source SDK, native drivers, and industrial protocols for integration with user applications, third-party image processing applications, robots, and PLCs. |